Shed Shop Tour & Organization 2024

Shed when we bought the house.
Shed in 2021. Painted beams and pegboard.

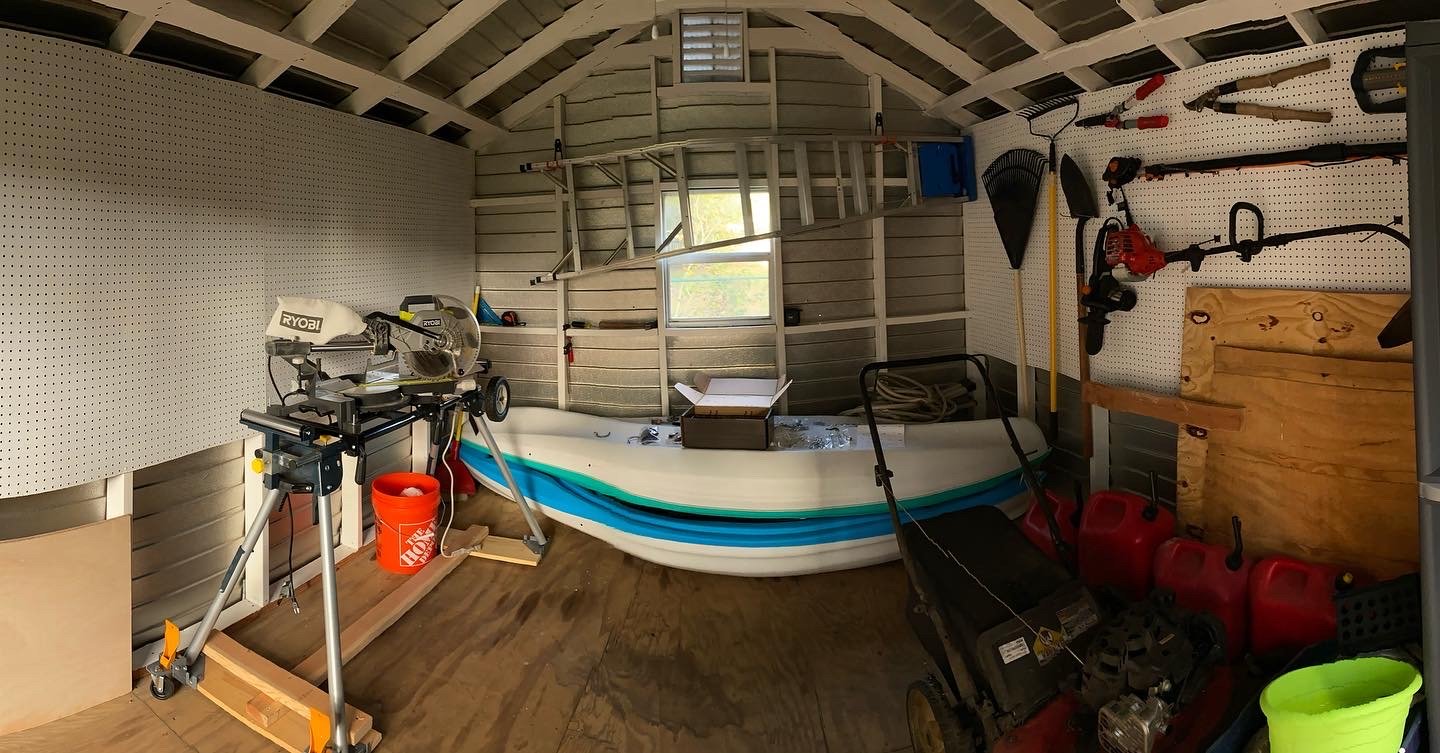
Shed in early 2023. All tools on wall, other half of shed for general storage.
Hello and welcome to the blog! This small shed shop has undergone multiple phases of updates over the years and I thought it was about time that I gave a tour. I finally have full use of the shed for my tools! Let’s get into it!
Paint and stain wall

I have one wall of the shed shop dedicated to the storage of spray paint, small cans of paint, and stains. This is one of my favorite views of the shop, I just love all the colors! Most recently I added a 6-port battery charger to this wall. This battery charger is so convenient! I love having all the batteries charging in one spot. I also store sawhorses, a fire extinguisher (very important to have), scroll saw supplies, and clamps on this wall. In the future, I may add a few more shelves so I can store more stains and paints.
Scroll saw

This scroll saw is my newest tool, and I actually haven’t used it yet! I’m a bit intimidated by it if I’m honest, but this year I plan on learning more about it and trying my hand at making some stuff with it. I have a project to complete that would be a lot easier if I used the scroll saw, so hopefully I’ll get working on that soon! I chose this spot for the scroll saw because it gets good light from the window, has close access to an electrical outlet, and is out of the way when I’m not using it.
Miter saw station

By far my favorite tool in the shed shop is the miter saw, I use it for basically every project. I have the miter saw on a rolling stand so I can move it around the shop as needed, but usually, I just use it right up against the wall. Underneath the miter saw I have a shop vac and dust deputy cyclone. The vacuum and miter saw are connected to a switch that turns the vacuum on any time I run the saw. The sawdust is then pulled through the dust deputy cyclone, and only a small amount of sawdust ends up in the vacuum. Dust collection on miter saws is notoriously difficult, but this setup helps. The initial setup of the dust deputy to the vacuum and miter saw was a bit confusing, you need multiple adapters for all the different size hoses, but If you’re interested in this setup let me know and I will write out exactly how I did it. I would love to add a dust hood or shield to my setup to reduce the amount of sawdust that gets on the rest of the tools in the shop, maybe I’ll get to it this year. In a dream world, I would also add a large window to this wall!
Wood cart

I always have tons of scrap wood left over from projects, and finding a storage solution for that was a top priority last year. I looked at a whole bunch of inspo for wood carts on Pinterest (check out my shed shop board) and made one that had everything I needed. I wanted to have bins for small offcuts, a large space for medium-length offcuts (I have a lot of those), and a spot in the back for smaller sheet goods and longer offcuts. Behind the wood cart, I added some brackets to hold 8-foot-long pieces of wood. I made this cart completely out of scrap wood which was a huge plus! The casters on the bottom are super smooth and it’s easy to move the cart around as needed. With a wood cart, it’s really important to focus on the types of scraps YOU keep. I don’t often store larger sheet goods, so I didn’t need a cart that could hold those.
Tool wall

The tool wall holds all the power tools that I use regularly: sanders, drill/driver, brad nailer, router, and various saws. I wanted anything that I use frequently to be easy to access: speed square, level, Kreg Rip-Cut, tape measure, and pencils. I LOVE this tape measure holder, I always know exactly where my pencil and tape measure should be! The downside of the tool wall is that the tools get sawdust on them when I use the miter saw or sand, but that’s why I only keep frequently used tools on the wall. In the previous setup, I had all the tools and supplies on the wall and it was a nightmare to dust. I much prefer the simplicity of this setup.
Workbench wall


This workbench is a newer addition to the shed shop. I have wanted a tool chest forever, I just think they’re so cool and can hold tons of stuff. Last year I finally got a couple! I made a worktop that would span the whole width of the shed so I have more room when working on projects. The previous workbench was only 4 ft long and this one is 11 ft long! Such an upgrade. I store smaller hand tools, sandpaper, wood glue, wood filler, drill bits, Kreg jig, and a few other random things in the tool chests. All screws/nails/small parts are stored on the wall in organizers. The organizers on the right side are the most used types of screws and on the left side are specialty parts. Under the workbench, I have a fancy garbage can (Home Depot bucket lol) and a couple of storage bins with extra tools that are rarely used.
Gardening section

This is the only section of the shed that is not necessarily for building, it’s more of general storage for all the garden tools and pots. This cabinet is almost completely filled with pots. I have tried to pare down the amount of gardening supplies that I have, but I just can’t do it! If I see a cute pot I must buy it and never throw it out!
And that’s the shed shop tour! I would love to update the flooring in here this year, and possibly makeover the exterior! Besides that, I hope to spend tons of time here working on projects in 2024, and I hope that you’ll follow along! If you want to check out what I’m working on in real-time, give me a follow on Instagram! As always, if you have any questions feel free to drop them in the comments or DM me on Instagram. Thanks for reading!