Primary Closet Remodel: Drywall Repair & Paint

ORC Spring 2024: Week 3
Let’s Recap Week 1 & 2 . . .

Moodboard
Last year we took a trip to Japan and the beautiful architecture and unique art forms inspired me so much. I knew I wanted to try to incorporate some of that style into our home, and what better place than our bedroom and primary closet? The whole closet will be color-drenched green, to bring in the feel of nature, and I’ll be using a light fixture handmade in Japan, as well as trying my hand at building a Shoji-like door for the outside of the closet.

As a reminder, this is what we’re working with. This closet is a very good size, about 12 feet long by 5.5 feet wide.
Last week I cleared out the closet and removed the shelving and baseboards.
Hello and welcome to the blog! We are in week 3 of our ORC adventure! This week I’m working on drywall repair and paint. I had a bit of a setback that put me a bit behind schedule, but we’ll get into that later. Let’s take a look at my progress for this week!
I encourage you to check out the other ORC participants here, and follow along with any projects that interest you!
If you’re not following me on Instagram, now is the PERFECT time to start, as I’ll share everything I’m working on in real-time!
Drywall Repair


Filling drywall anchor holes
I used a putty knife and joint compound to fill in the holes left by drywall anchors.
After the joint compound was dry, I sanded it smooth and assessed if it needed another coat.
Most of the holes needed 2 coats since the holes were on the larger side.
Filling in damage from previous closet systems
I needed to fill in anywhere that there was previously shelving in the closet because the walls were uneven in those areas. This was extra important for walls that would not have built-ins covering them. I wanted to make them as smooth as possible!
I used a 10’’ taping knife and joint compound to cover those areas. All of the walls that would be showing needed two coats of compound with sanding in between.
As I sanded, I ran my hand up and down the wall feeling for any high or low spots. I sanded or added more joint compound as needed. If the wall is not completely smooth when I paint, it will show through.
Primer & Paint

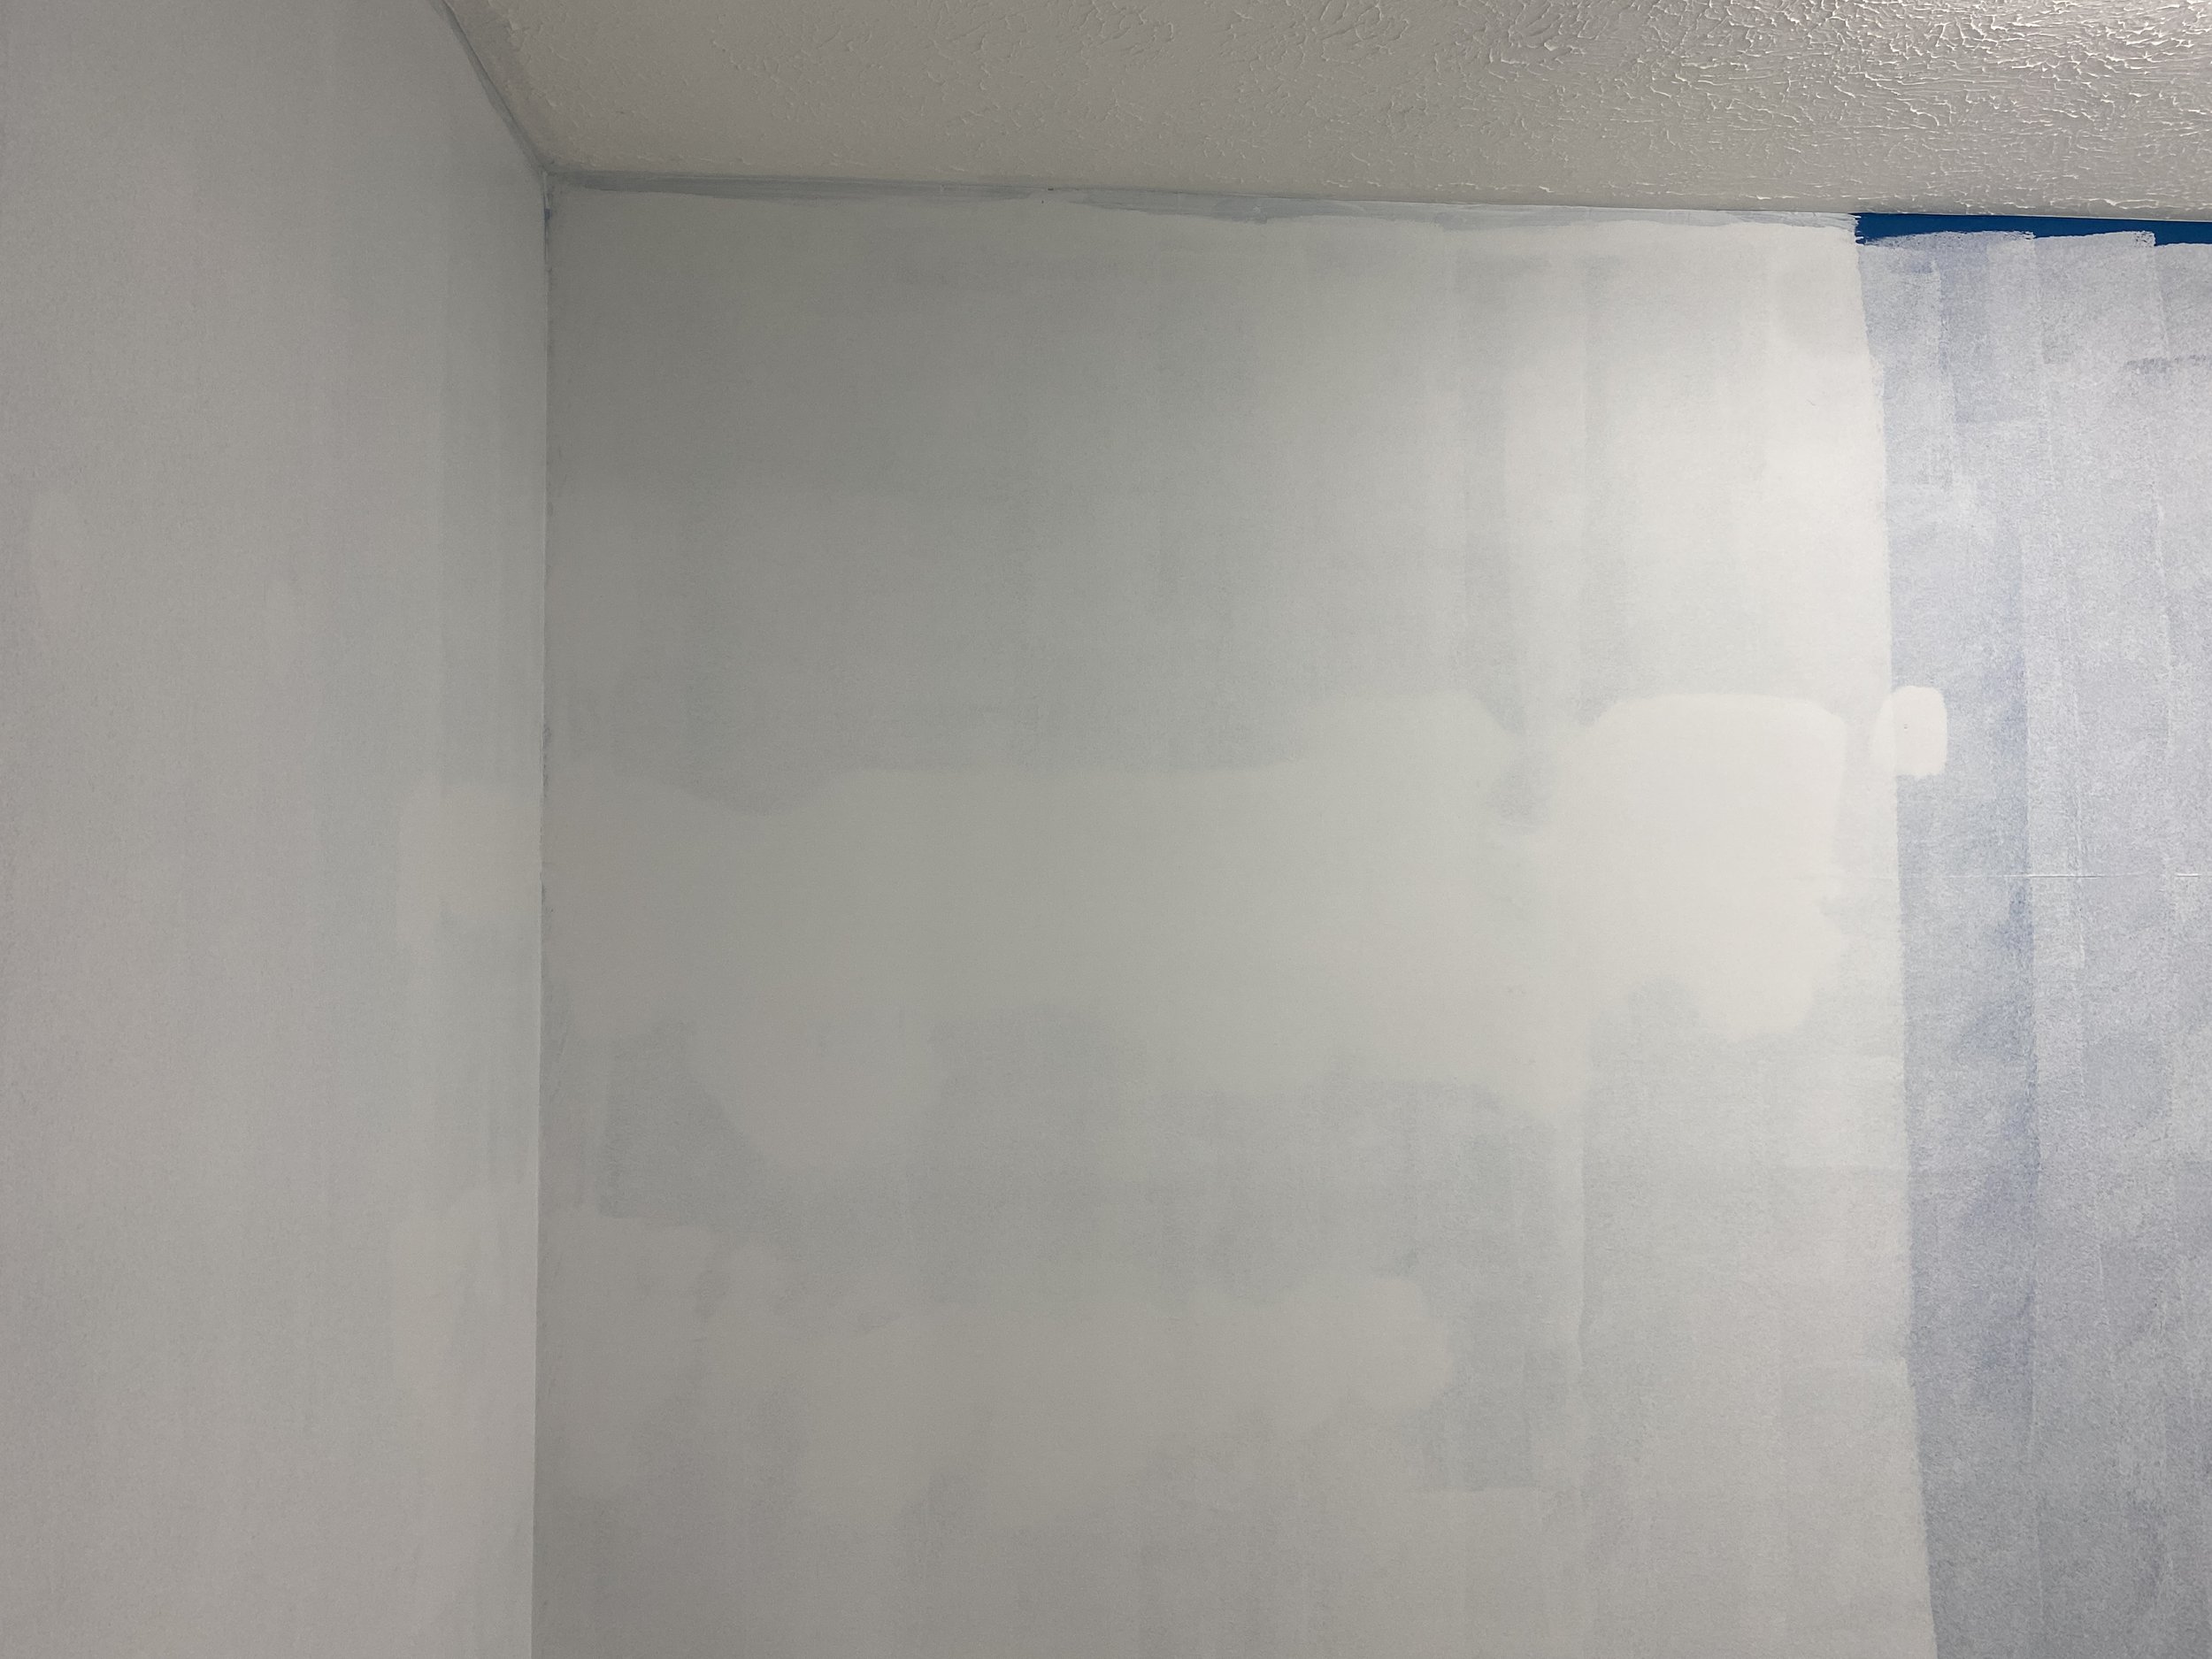
After the drywall repair was completed I primed the walls with Zinsser 1-2-3 to seal the compound. This should help prevent the patches from absorbing the paint differently than the rest of the walls. I did 2 coats of primer on the walls that would be showing, and one coat on walls that would have built-ins covering them.


Next up was the fun part, the new paint color for the closet! I tried 12 different shades of green before I found the right one. My final choice was Crisp Romaine by Benjamin Moore. This color will be for the walls, built-ins, and trim. I also wanted to do something a bit different and go with a darker color on the ceiling, Essex Green by Benjamin Moore. I think these two colors go together so well and I’m excited to use them in my bedroom later on as well! I did two coats of paint on the walls and ceiling. Note: I only painted the sections of walls that would be showing.
Change of plans…


So it turns out that I miscalculated some things when planning the closet, which made my original plan not possible. BUT I figured out a solution, I just needed to shift my plan to the opposite wall of my closet, then everything would work out. The problem with that is that I only did perfect drywall repair on the walls that would be showing in my original plan, and now the opposite walls would be showing. So back to drywall repair and painting, I went. It took me a few extra days, but I completed the extra drywall repair and all the walls in the closet are now smooth and painted.
Tentative Timeline
Week 1: Introduction & plan (Done!)
Week 2: Closet clean out & demo (Done!)
Week 3: Drywall repair & paint (Done!)
Week 4: Built-ins Part 1 (Next!)
Week 5: Built-ins Part 2
Week 6: Lighting & Shoji door build
Week 7: Flooring & finishes
Week 8: Closet reveal!
It feels so good to get to the part of this project where everything will start to look nicer! I’ve been planning for months and now it finally gets to start coming together! I hope that you’ll follow along! See you next week when I start building the built-ins!
Missed a week? Catch up on my ORC progress.
Week 1 / Week 2 / Week 3 / Week 4 / Week 5 / Week 6 / Week 7 / Week 8