DIY Laundry Room Makeover

The first full-room makeover in our home is complete! This laundry room hadn’t been updated in a VERY long time, and it definitely needed some TLC! Keep reading to see how this makeover unfolded.
Before


The first word that comes to mind when I think of the laundry room before the makeover is BLAND. The walls were beige, the tile was a dingy off-white, and the cabinets were nothing exciting. There were also a few drywall repairs that I had been neglecting since we moved in. Let’s get into my plans for this room.
To-do:
Paint washer and dryer electrical outlet covers
Accent wall design
Change outlets and light switches
New baseboards and door trim
Make shelf
Make water inlet box cover
Make an electrical box cover
Clean and decorate
Remove old tile
Install new tile
Paint ceiling
Change light fixture
Finish repairing drywall
Paint walls
Paint cabinets
Paint the original water inlet cover
Paint the original water inlet cover
Removing the old tile

Tile demo

Tile demo complete
I had never removed tile that was correctly installed before so I wasn’t sure what I was in for with this part of the project. I watched a few YouTube videos and saw that some people used a rotary hammer to remove tile, it looked like it would be helpful. I went ahead and bought this one from Harbor Freight. It ended up making tons of dust and was very heavy, it didn’t seem like the right fit for me in this process. I switched to a good old hammer and tile chisel. I broke the tiles loose with the hammer then used the chisel to pry when needed.
Once the tile was out of the way I needed to remove any old mortar from the concrete so the surface would be smooth for laying the new tile. I used the rotary hammer for this, being very careful to only remove mortar and not damage the concrete. The process of removing the tile and making sure the concrete was smooth was a lot of hard work; it was dirty, dusty, and my muscles were sore from the manual labor. BUT I am very proud that I did this on my own!
Installing the new tile
For the new tile, I chose Adessi Concept Gray Matte Porcelain Tile in 6” x 36” from Floor & Decor. I laid the tiles out and decided on a stepped pattern, making sure to offset the tiles by no more than 1/3 as directed for large format tiles. I made all my cuts using a tile saw before laying any tile, then got to work installing.

Tile layout

Tile before cleaning mortar out of grout lines

Tile after grouting
I used Mapei Ultraflex LFT White - Large Format Tile Mortar with a 1/2 in. x 1/2 in. trowel to lay the tile. After the mortar dried for a day, I went through and cleaned out any mortar from the grout lines. For the grout, I used Mapei 107 Iron FlexColor CQ Grout. This grout is pre-mixed and matches the color of the tile almost perfectly!
Painting the ceiling & installing a new light fixture

Old light fixture with freshly painted ceiling

New light fixture
I gave the ceiling a fresh coat of white paint and changed out the boring light fixture for something a little more interesting.
Painting the walls & accent wall stencil

All walls painted

Stenciling the accent wall

Finished accent wall
For three of the walls, I used Behr Silent White, which is the trim/door color in the rest of our house. For the accent wall base color, I used Behr Graphic Charcoal. All of the walls needed two coats of paint.
I really wanted something on the wall behind the washer and dryer that would catch your eye. I thought about doing a herringbone tile backsplash but decided against it. I didn’t want to have something so permanent in the laundry room in case I change my mind in a few years. A nice compromise was a herringbone stencil that I found on Etsy, it gave me the best of both worlds! The stencil was very easy to use and I’m happy with the results. I used a medium black Sharpie paint pen to apply the design onto the wall.
Painting the cabinets

Cabinet doors with primer

Cabinet doors in Behr Anonymous

Cabinet base in Behr Anonymous
The cabinets definitely needed a refresh, I didn’t want any sign of beige left in this laundry room! I did a lot of research on painting laminate cabinets and decided to use the Benjamin Moore Advance line. At my local Benjamin Moore store, they were able to make Behr colors, which was great for me because I chose Behr Anonymous as the cabinet color.
I removed the cabinet doors and hardware, then used a degreaser to clean everything. I lightly sanded the cabinets, cleaned off any dust, and applied a coat of primer. I let the first coat of primer dry for a day, lightly sanded again, cleaned off the dust, and applied the second coat of primer. I repeated those steps for the other side of the cabinet doors as well. The steps for the topcoat are the same, two coats of paint with a light sanding in between. The only downside to using the Benjamin Moore Advance line is that the dry time is long, which drags out this process a bit. Overall the finish is amazing; you don’t see any brush strokes and the paint dries with a hard finish to protect from scratching. I would definitely use the Advance line again. If you want to see a step-by-step guide for painting cabinets using the Advance line check out the Benjamin Moore website.
Pulling it all together

DIY water inlet box

DIY electrical box cover

Clothes drying rack
I made two DIY box covers for this laundry room, one for the washer water inlet area and another for the electrical box near the ceiling. Both covers were made using scrap wood. They really make the room look finished.
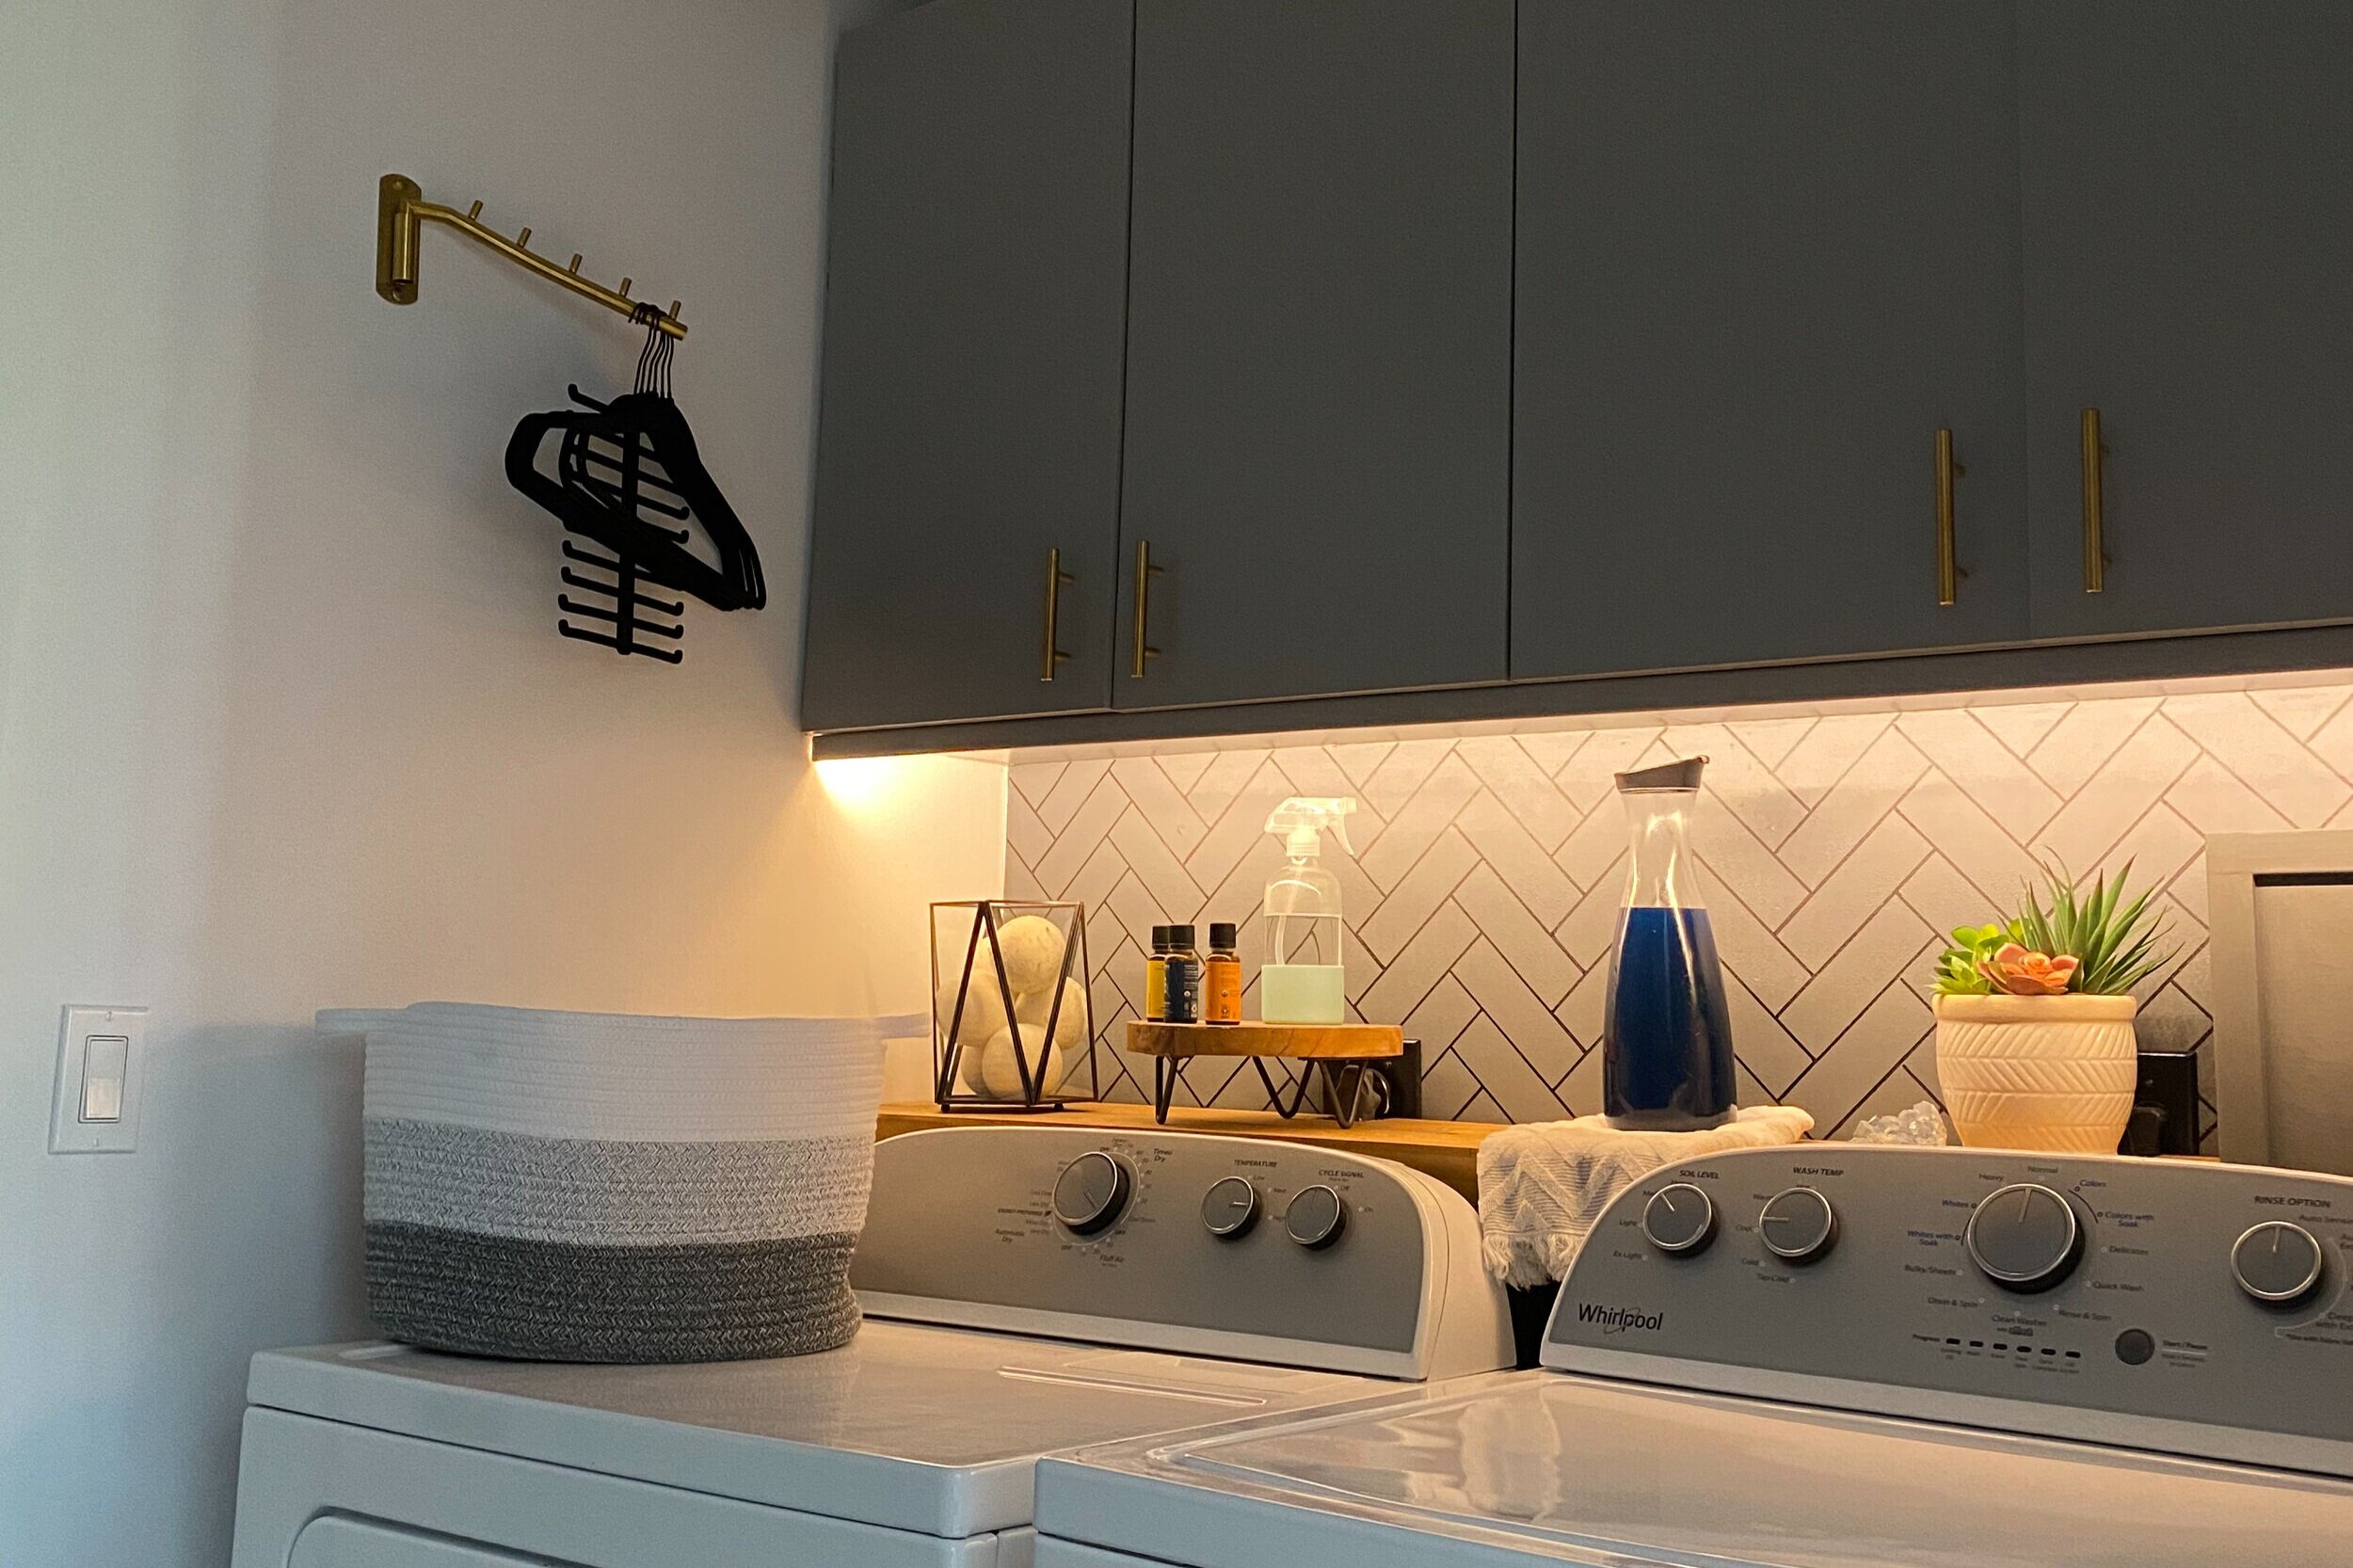
Undercabinet lighting
Two things I wanted to add for functionality were a shelf and a place to hang clothes. The shelf is flush with the top of the washer/dryer and conveniently holds our laundry detergent, wool dryer balls, essential oils, and a few decor items (of course).
A last-minute addition to the project was undercabinet lighting, and I’m SO glad I did it. Without the undercabinet lighting, the room was nice, but with it, it’s a vibe. We keep them on 24/7 and have the door to the laundry room open all the time. If that’s not a sign of a job well done, I don’t know what is.
After

After

After

After
Every part of the laundry room has changed. I couldn’t be happier with how it turned out. I tried some new things in this room, and they turned out great! I’m definitely going to apply the things I learned in this project to my next ones. I’m looking forward to tackling more rooms in our house! If you want to keep up with my projects in real time, give my Instagram a follow @jeanishh_DIY . Thanks for reading!